We’re excited to announce the release of our brand new Online Scheduling Tools!
Now your clients and agents can book a complete inspection in an embeddable scheduling widget, complete with accurate pricing and availability! Here’s a rundown of the features:
- Setup your various services, each with cost formulas based on the square footage and the age of home
- Associate templates and agreements with each service type
- Set up your availability schedule with options for time slots or open scheduling
- Disallow bookings within the next X hours
- Create vacation days, appointments, and time-off blocks in your calendar
- Custom confirmation options
- Optional emails & texts when booking are in-progress and complete
- Automatic Google Address and Zillow lookup for exact addresses and square footage/year built info when available
Start the new year off with a complete scheduling system that integrates directly with your report writing software! Read on for setup instructions:
1. Enable the Online Scheduler
First, pop into Settings and check “Enable Online Scheduling”: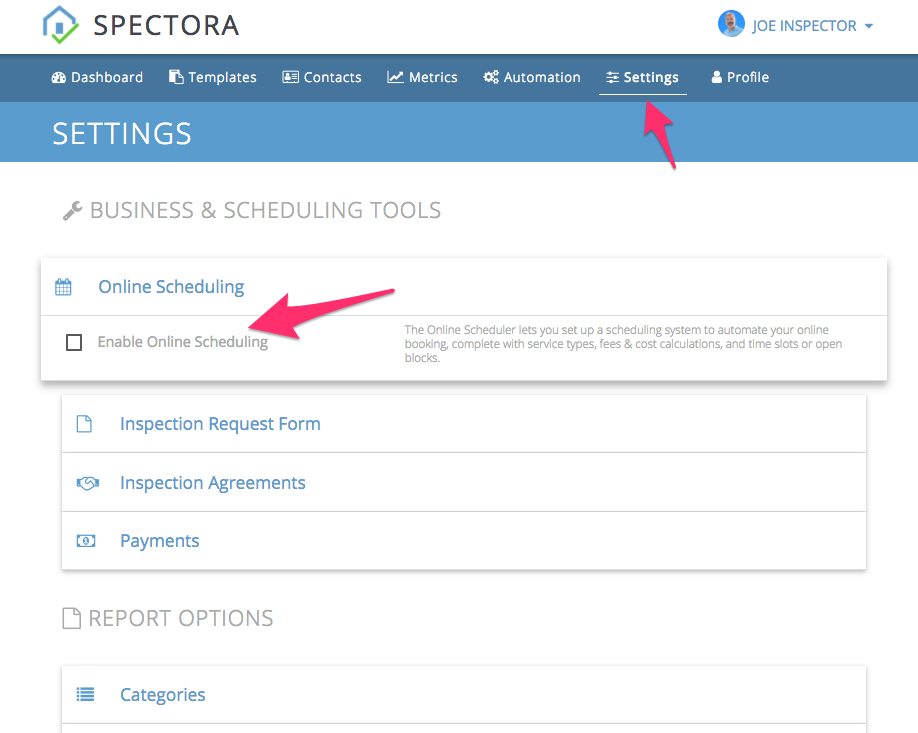
(You may wish to disable the Inspection Request form too in the section right below)
2. Set up your services
- Click the “Service Types & Fees” button:
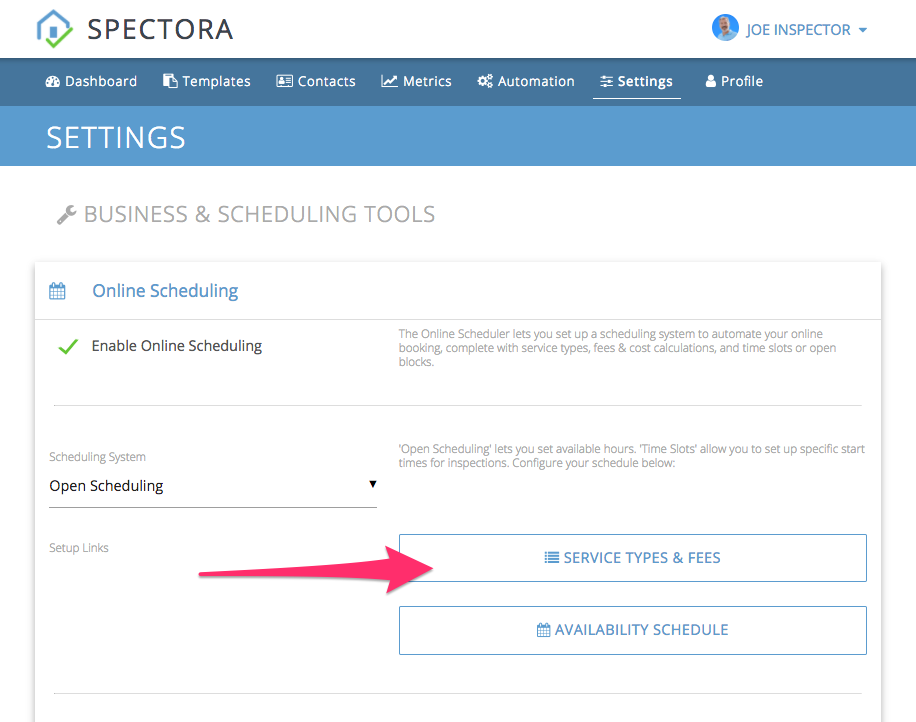
- Add your various services!
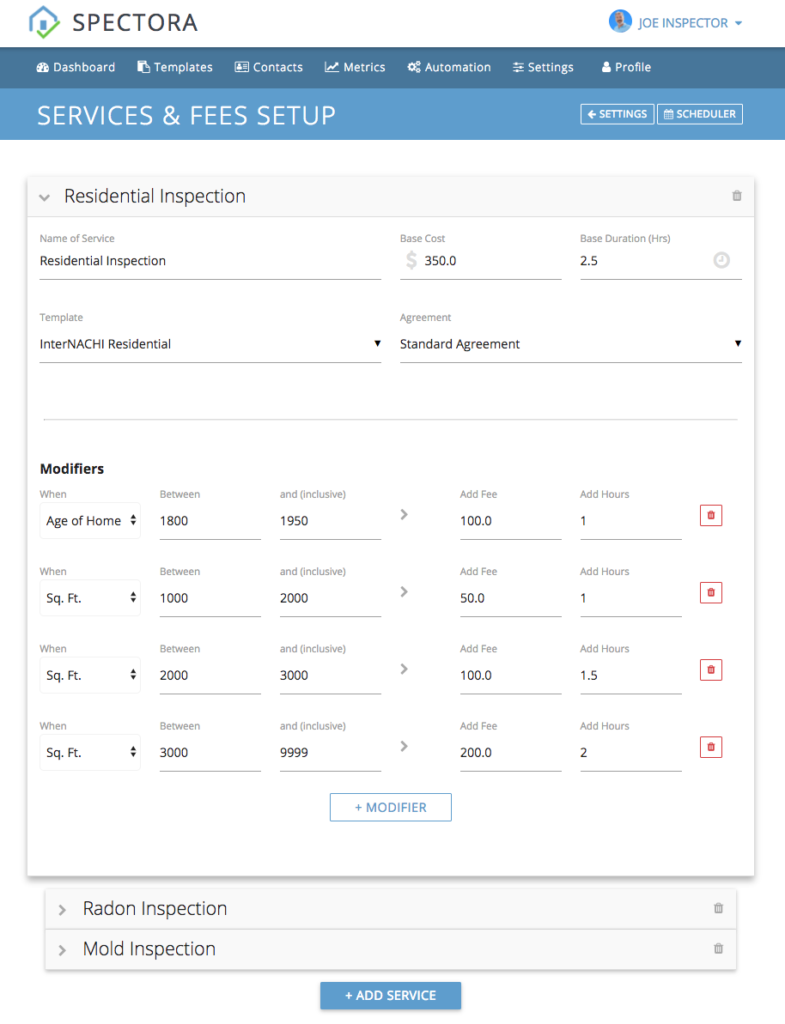
- Name of Service: The name both you and your clients will see
- Base Cost: The base cost before adjusted for square footage and age of home
- Base Duration: The base amount of hours this service takes before adjusted for square footage and age of home
- Template: The template that will be automatically attached to this inspection
- Agreement: The agreement that will be automatically attached to this inspection
- Modifiers: Allows you to base prices and inspection duration on square footage and age of home or year built. The final cost/duration of the inspection will be the base cost/duration plus any relevant modifiers. (Notice that they are not cumulative – a 2500sf home only falls within the “2000-3000”, for example)
- Square Footage can be used to add additional charges and hours to an inspection. Use mutually-exclusive tiers, like “1000-2000”, “2000-3000”, etc. (The upper value is inclusive, so 2000-exactly would fall into 1000-2000.)
- Use EITHER “Age of Home” or “Year Built”, depending on your preference. The values should be low on the left and high on the right (ie “1900 – 1950”.)
- Add-ons (New & not pictured above): Add-ons allow you to display optional services/fees to you client, which appear as checkboxes in the online scheduler. Use this for additional fees, like “Crawlspace”. Or use it with a negative value for “Military Discount”. You can also use it for up-sells, like adding a “Radon Inspection” or “Mold Inspection” as part of a package deal.
- Order your services in the order you want them to appear in your scheduler by drag-and-dropping the headers.
3. Set up your availability
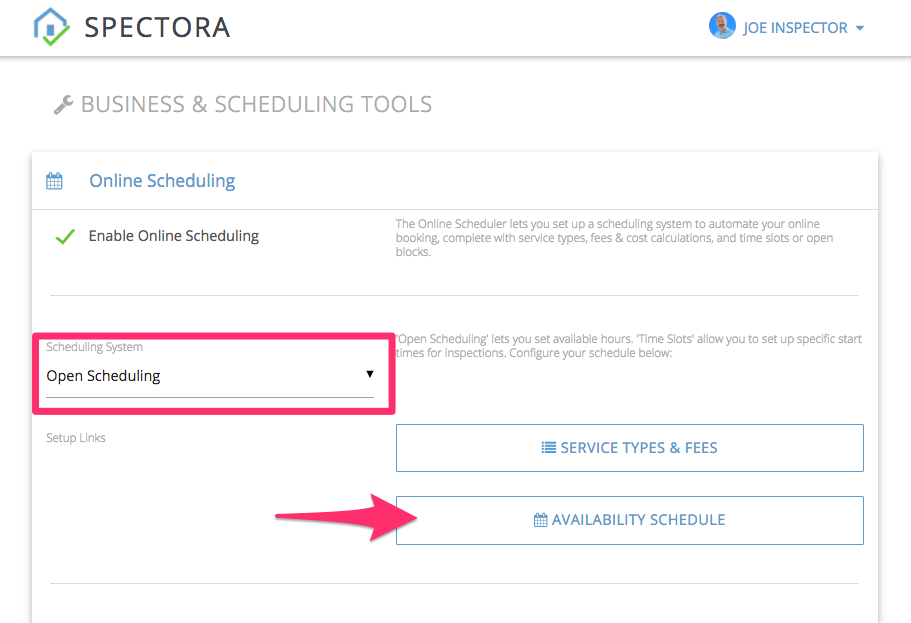
- From Settings->Online Scheduling, choose what scheduling system you want to use:
- “Open Scheduling” allows you to select your business hours per inspector each day (ie “9am-5pm”) and clients/agents can choose any available time within those hours as long as there is sufficient time to complete an inspection to get you out on time. For example, a three-hour inspection could be scheduled at 2pm at latest to allow you to finish by 5pm.
- “Time Slots” allows you to select specific start times for each day (ie “9am” and “1pm”.) Clients and agents can select these if they are available. (In this example, a five-hour inspection scheduled at 9am would block off the 1pm inspection.)
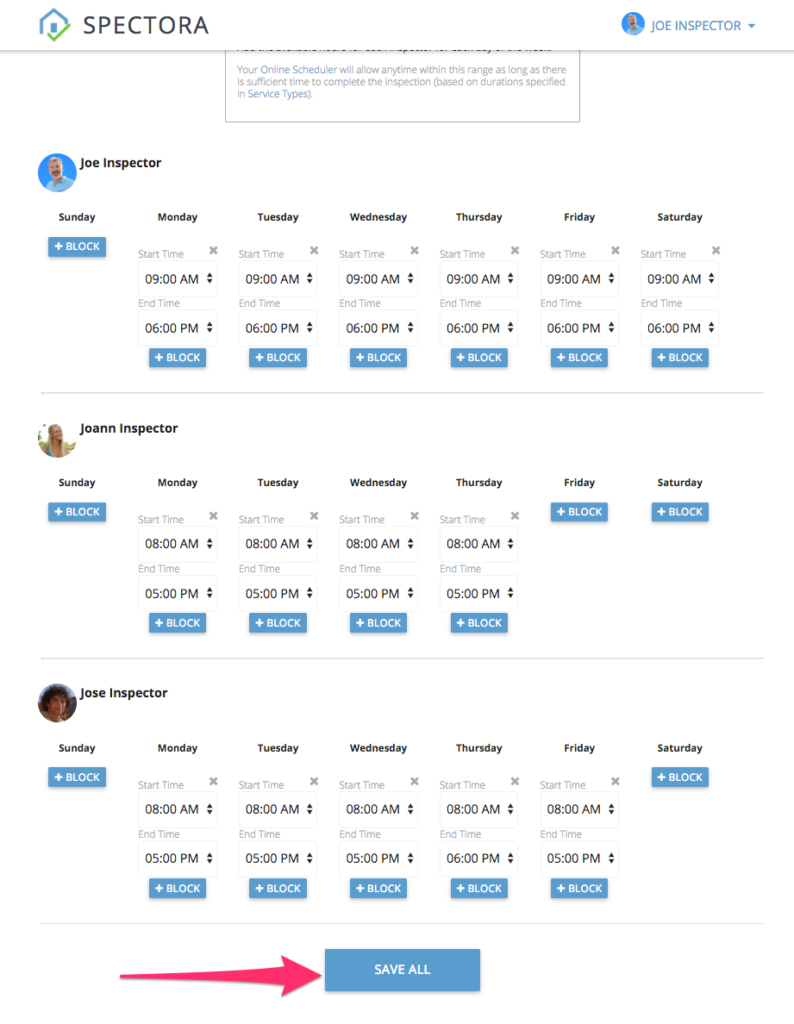
- Click on the setup button to add your scheduling blocks or time slots
- After inputting all your blocks/slots, be sure to click “Save All”:
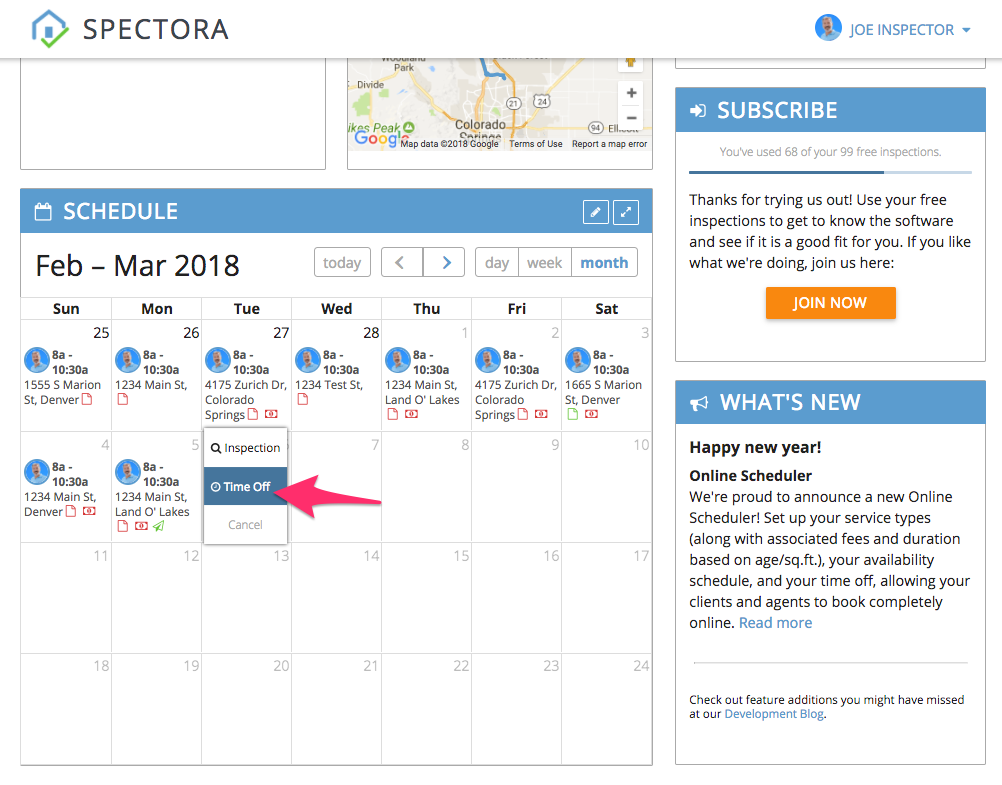
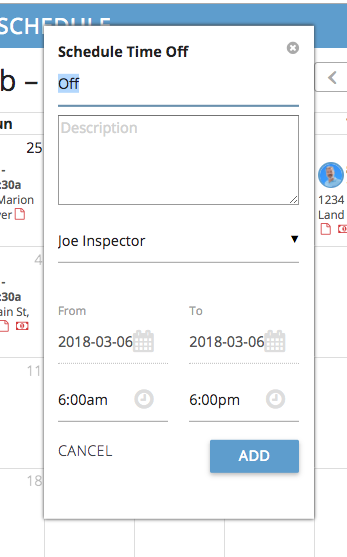
- Schedule time-off, vacation, or appointments any time by just clicking on your dashboard calendar:
4. Choose your scheduler options
Back in Settings->Online Scheduling, choose your options:

- Decide your “disallow” window. For example, if you don’t allow scheduling within 24 hours, all time slots within the next 24 hours will be “unavailable” when the scheduler looks up your schedule.
- (Multi-inspector companies only) Decide if clients/agents can choose their inspectors in the scheduler. Otherwise, it goes to the first inspector available, ordered by seniority (ie first created in our system.)
- Decide if you want to require your confirmation on your end before confirmation emails go out. You will see unconfirmed inspections on your dashboard ready for your approval.
- Input your custom confirmation text that is displayed at the end of the scheduler. You can optionally include the {{INSPECTION_LINK}} shortcode here to allow clients to jump directly to the payment/agreements page (this only appears if you don’t require confirmation on your end.)
- Choose your email/text notification options
- “Completed bookings” emails/texts fire once the client clicks “Submit”
- The “Booking in-progress” emails/texts fire when a client clicks “Next” after entering in their contact information. This can be useful for calling a client to upsell services or answer questions. If you never receive a “Completed” email, you can also use this information to reach out and get a job that might have otherwise not happened.
5. Put the scheduler on your webpage
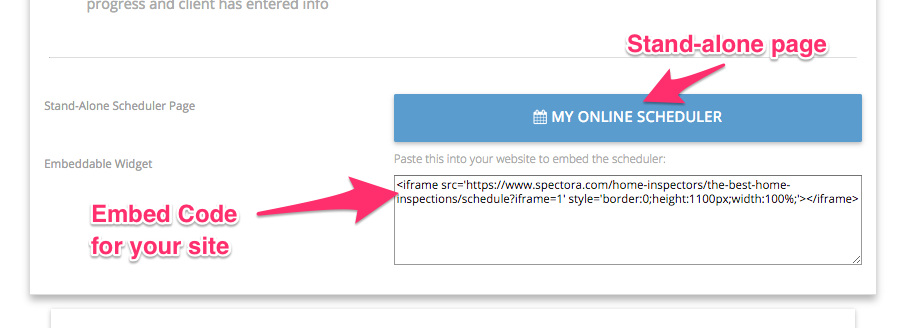
We recommend embedding your online scheduler in your web page, perhaps surrounded by additional information on your pricing and services. The widget is fully-responsive and can be embedded in sidebars, half-page columns, or full-width pages. (If you need a modern website, check out our offerings.) You can also use the stand-alone Online Scheduler page, which is automatically generated from your company info:

6. Test it out!
Please make several trial runs to ensure your pricing models and availability are working as you want. It also helps you know what the process is like for your clients and agents in case they call with questions!
Let us know if you run into any issues at info@spectora.com.
Up next
Thank you to everyone who gave input on the development of our scheduler! And a huge thanks to all the beta testers that played with it over the past several weeks!